Address
304 North Cardinal
St. Dorchester Center, MA 02124
Work Hours
Monday to Friday: 7AM - 7PM
Weekend: 10AM - 5PM
Address
304 North Cardinal
St. Dorchester Center, MA 02124
Work Hours
Monday to Friday: 7AM - 7PM
Weekend: 10AM - 5PM
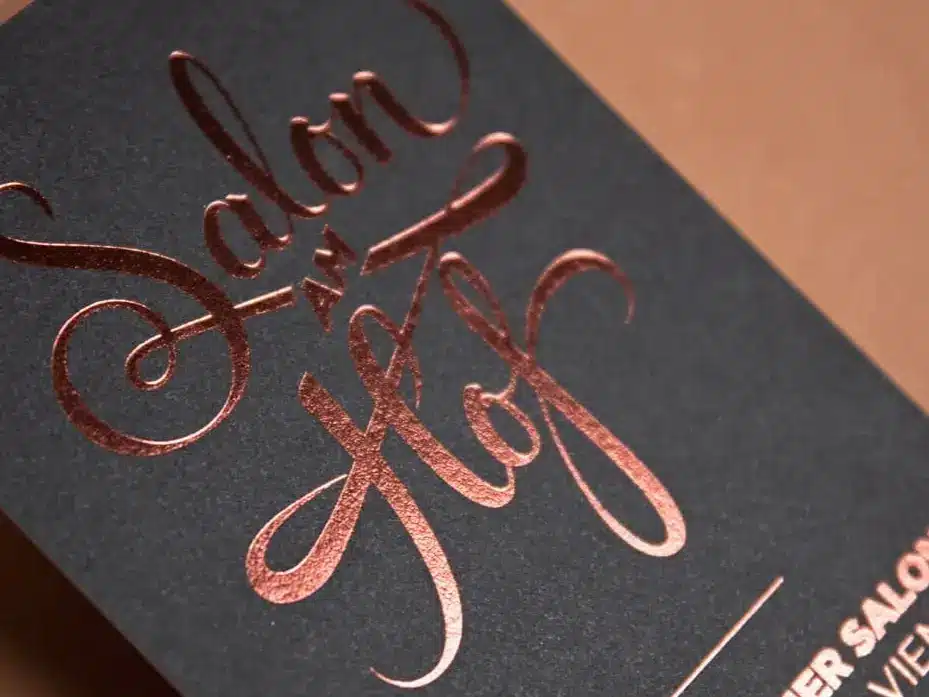
In the world of luxury printing, nothing says “premium” quite like Hot Foil Stamping. It transforms a flat piece of paper into a tactile, shimmering work of art. Whether it’s for business cards, brochures, or packaging, foil stamping is a mature technology that adds instant value.
However, many designers are unaware that “foil stamping” isn’t just one technique. Depending on your design goals, there are five distinct ways to apply this finish. Here is your guide to choosing the right method for your next project.
This is the most common and cost-effective method. The foil is applied to a specific area (like a logo or text), leaving the rest of the paper blank or printed with ink.
Think of this as the opposite of flat stamping. Instead of foiling the text, we foil the background, leaving the text or graphics “knocked out” (revealing the paper color underneath).
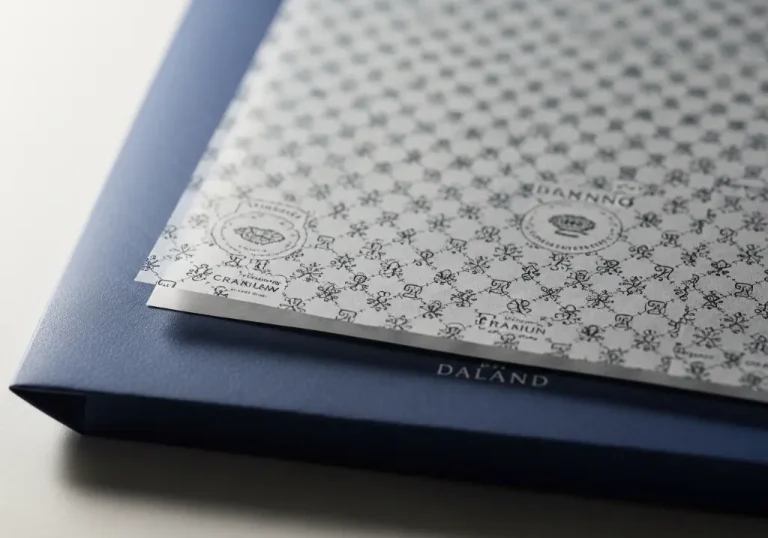
This technique requires extreme precision and a skilled master printer. It involves combining standard ink printing with foil stamping in an overlapping manner.
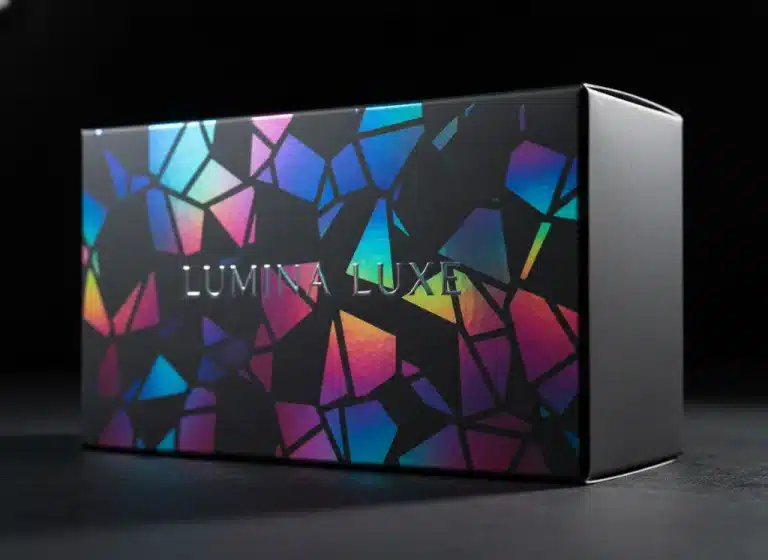
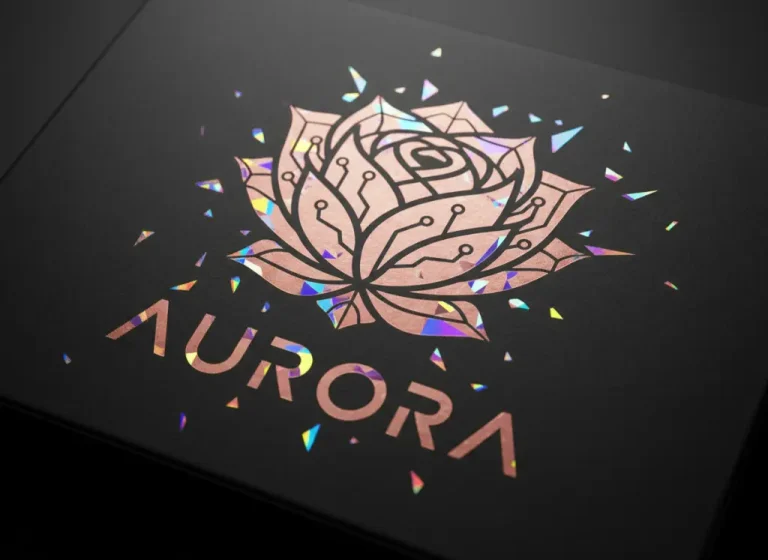
Who says you have to stick to Gold? This technique involves applying two or more different colors of foil (e.g., Gold and Matte Black, or Holographic and Silver) onto the same design.
This is the ultimate luxury finish. It combines Foil Stamping and Embossing in a single pass using a special brass die. The foiled area is physically raised, creating a 3D relief effect.
Foil stamping is versatile, but the success of the project depends on choosing the right technique for your specific design and paper choice.
Not sure which foil method will work best for your artwork? Send us your file for a free feasibility check.