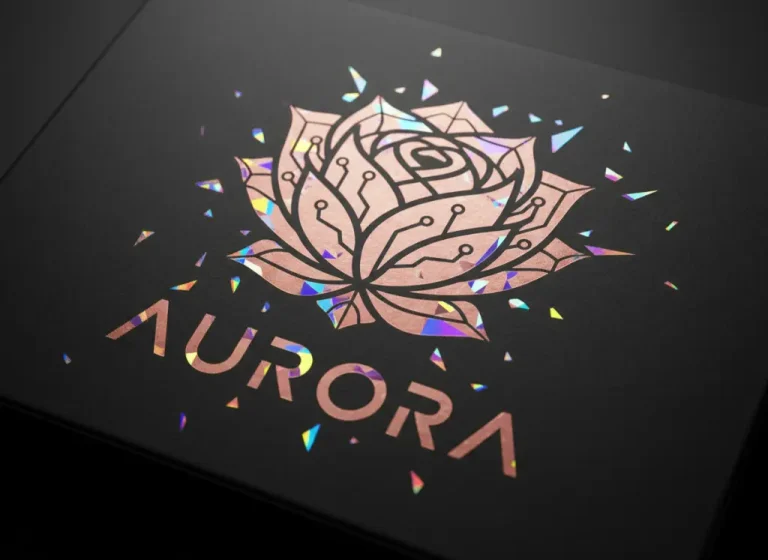
Foil stamping isn’t just a shiny layer; it’s a tactile experience that elevates your brand. By using heat and pressure to bond metallic foil to paper, we create a slightly debossed, light-catching effect that standard ink printing simply cannot mimic. Think luxury packaging, elegant invitations, and high-end branding.
However, foil stamping is also one of the most technical print finishes. Small design errors can lead to “bridging” (foil merging together) or peeling, resulting in costly reprints and disappointed clients. As your manufacturing partner, Kore Create is dedicated to ensuring your project is a success. Here is the technical breakdown, insider tips, and 2025 trends to ensure a perfect result.
Part 1: How the Process Works (Hot Foil vs. Cold Foil)
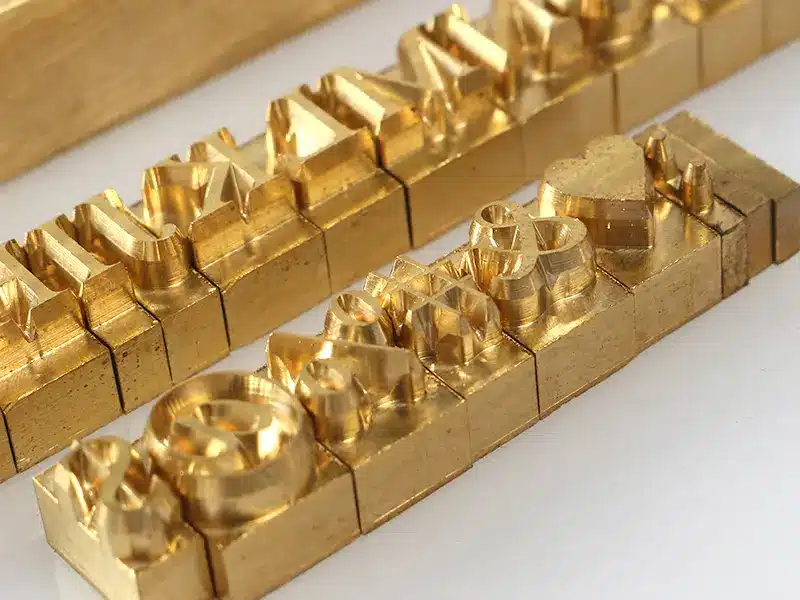
This is a dry printing method that delivers superior results. We manufacture a custom metal die (mold) of your logo or design, typically made of magnesium, copper, or brass. The machine heats this die, then presses it against the foil roll and the paper substrate, transferring the design permanently. The heat and pressure combination creates a slight deboss that is the signature of hot foil stamping.
The Look: Creates a slight physical depression (deboss) in the paper. This gives a luxurious, artisanal, and high-end feel.
The Cost: Requires a one-time “tooling fee” (typically $50-$150) for the mold. Consider this an investment in your brand’s visual impact.
Best For: High-end packaging, business cards, invitations, book covers, and anything where a premium, tactile feel is desired.
Hot foil stamping is ideal for projects that demand a premium look and feel, offering a unique tactile experience that enhances the perception of quality and value.
Digital / Cold Foil
This uses glue and no heat/pressure. It lies flat on the surface, mimicking the look of foil with less texture.
The Look: Completely flat. No texture or deboss. It can appear less refined than hot foil.
The Cost: Cheaper for very small runs, but lacks the premium “feel” of hot stamping.
Best For: Quick prototypes, very short runs where budget is the primary concern, and projects where a debossed effect isn’t needed.
Cold foil can be a good option for initial mockups or when budget constraints are paramount. However, it’s essential to understand the trade-offs in terms of tactile feel and overall visual impact.
Part 2: Foil Colors – It’s Not Just Gold and Silver
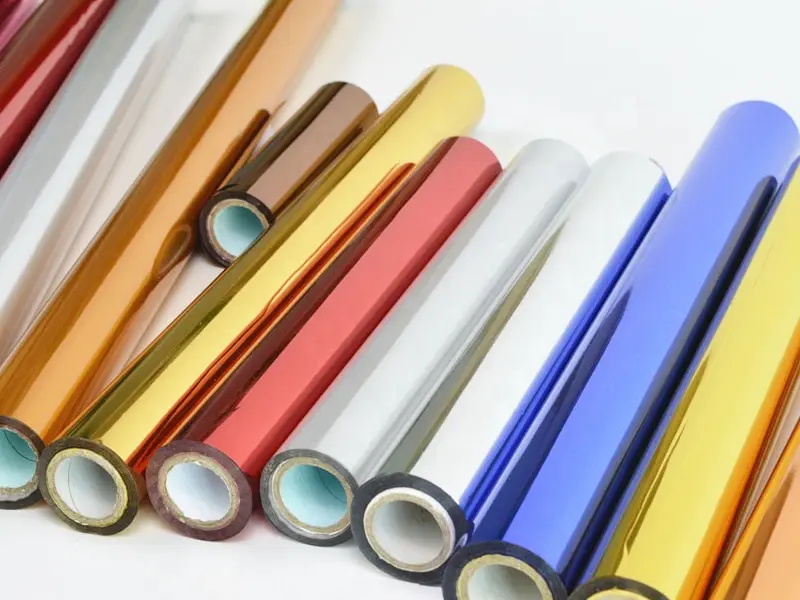
While Gold and Silver are classics, the foil color library is extensive and constantly evolving. In 2025, we are seeing trends shift towards more subtle luxury and unique visual effects:
Matte Gold/Silver: Unlike the mirror-like finish of standard foil, matte foil has a soft, satin sheen. It looks incredibly sophisticated, doesn’t show fingerprints easily, and complements modern design aesthetics.
Rose Gold / Copper: Remains incredibly popular for lifestyle, cosmetic, and jewelry brands, conveying warmth, femininity, and modern elegance. Consider pairing it with soft, neutral paper stocks.
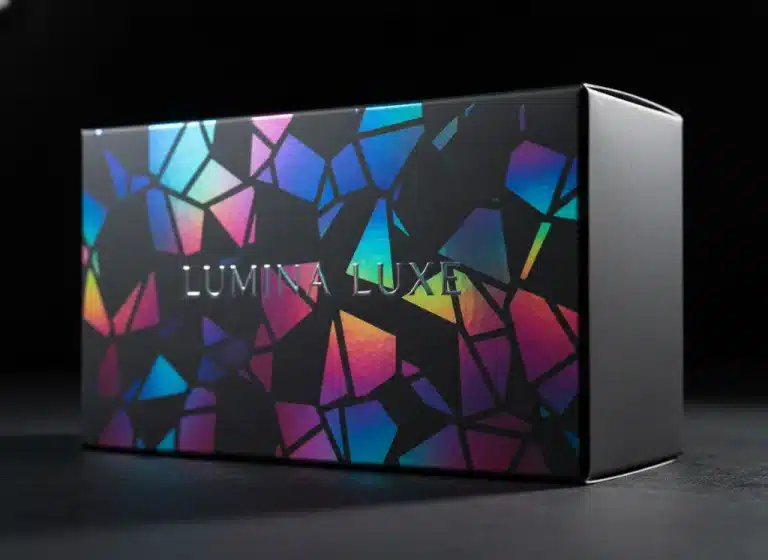
Holographic: Changes color as you move the box or card. Great for tech, youth-oriented brands, and anything that wants to project a cutting-edge image. Experiment with holographic patterns for added visual interest.
Black Gloss: Stamping black gloss foil on matte black paper creates a stunning “black-on-black” ghost effect. This is a sophisticated and understated way to add visual interest without being overtly flashy.
Pastel Foils: Soft pinks, blues, and greens are gaining traction for a more delicate and whimsical look, particularly in packaging for baby products, confectionery, and artisanal goods.
Colored Foils: Bold primary colors like red, blue, and green offer a vibrant alternative to metallic finishes, allowing you to create eye-catching designs that align with your brand’s identity.
To ensure a crisp, clean, and professional result, your design file must meet our factory standards. This is where 50% of designers make critical mistakes that lead to production delays and added costs. Follow these guidelines carefully.
The Checklist:
Vector Format ONLY: We need .AI (Adobe Illustrator), .EPS, or .PDF files. DO NOT send JPEGs or PNGs. We cannot make a precise metal mold from a pixelated image. Vector files allow for clean scaling and sharp edges.
Line Thickness: Ensure all lines are at least 0.5pt (0.2mm) thick. Thinner lines may not break the foil cleanly, leading to jagged edges, incomplete coverage, or the foil simply not adhering properly. Err on the side of thicker lines for optimal results.
Negative Space: Keep at least 1mm space between foil elements. If lines are too close, the foil will bridge across the gap during the stamping process, turning your detailed logo into a solid, undefined blob. Careful attention to spacing is crucial for complex designs.
Separate Layer: In your artwork file, put the foil design on a separate layer and clearly label it (e.g., “FOIL LAYER”). Color it 100% Magenta or Black (spot color) to indicate it is specifically for the mold and not intended for standard ink printing. This prevents confusion and ensures accurate plate creation.
Convert Text to Outlines: Before submitting your file, convert all text to outlines or curves. This prevents font substitution issues and ensures that your typography is rendered correctly regardless of whether we have the font installed on our system.
Outline Strokes: Similarly, outline any strokes applied to vector elements to ensure they are treated as filled shapes. This helps prevent unexpected variations in line thickness during the foiling process.
Part 4: Common Materials for Foiling
Not all paper loves foil equally. Choosing the right paper stock is critical for a successful hot foil stamping project. Best:
Uncoated textured paper: The slightly porous surface of uncoated paper provides excellent adhesion for foil, resulting in a clean, crisp impression.
Art paper with matte lamination: Matte lamination creates a smooth, even surface that allows the foil to adhere uniformly, enhancing its brilliance and preventing imperfections.
PU Leather: The flexibility and texture of PU leather make it an ideal material for foil stamping, creating a durable and visually appealing finish.
Tricky:
Highly textured linen paper: The uneven surface of linen paper can cause the foil to break or skip in certain areas, resulting in an inconsistent and unprofessional appearance.
Extremely thin paper: The heat and pressure involved in hot foil stamping can cause thin paper to wrinkle or warp, compromising the overall quality of the finished product.
Coated Glossy Paper: Due to the coating on these papers, the foil may have a hard time adhering properly.
Part 5: Troubleshooting Common Foiling Problems
Even with careful preparation, issues can arise. Here’s a quick troubleshooting guide:
Foil Bridging: Reduce the heat or pressure slightly. Double-check your negative space – is it *truly* 1mm or more?
Foil Peeling: Increase heat and pressure. The paper stock might be the culprit – try a different one. Ensure the foil roll is fresh and properly tensioned on the machine.
Incomplete Foil Coverage: Uneven die pressure. Ensure the die is perfectly level. Adjust the machine’s pressure settings. The die might need to be re-made.
Not sure if your logo is foil-ready? Send your file to our design team at Kore Create for a free feasibility check before you commit to the tooling fee. We’ll assess your design and advise on any necessary adjustments to ensure a flawless result. Let us help you bring your vision to life!